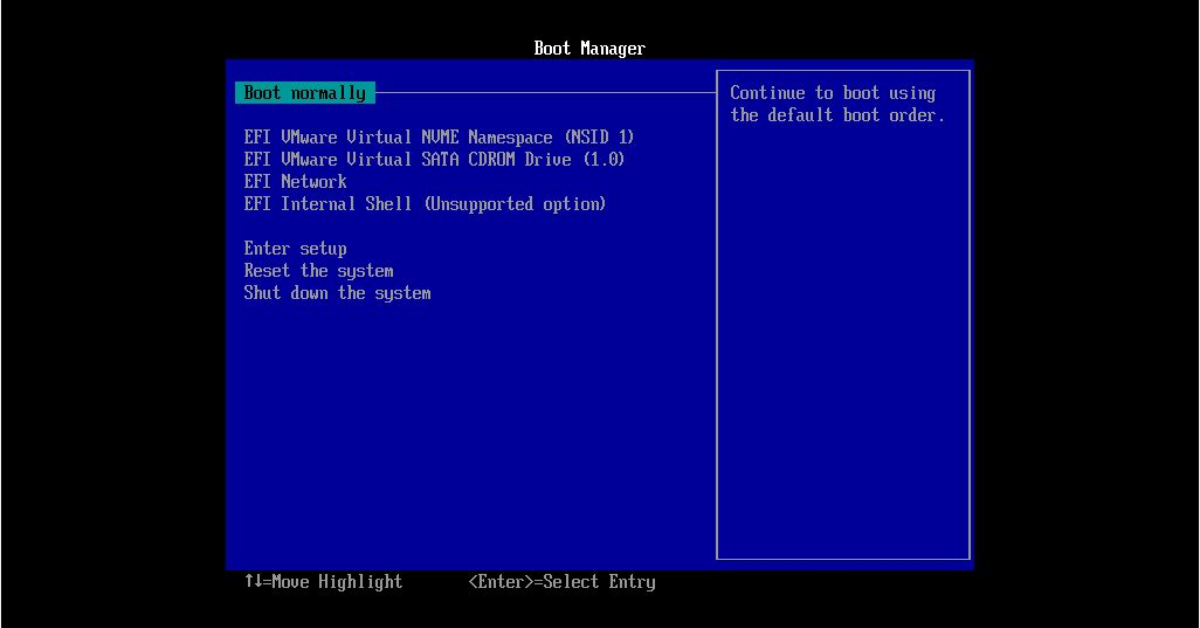
Booting to the BIOS (Basic Input/Output System) is an essential task for users who need to configure hardware settings, troubleshoot issues, or make changes to their system’s boot order. In Windows 11, accessing the BIOS may not be as straightforward as it once was due to advancements in technology and the introduction of UEFI (Unified Extensible Firmware Interface). This guide will walk you through the steps to boot into BIOS in Windows 11.
What is BIOS?
BIOS is firmware that initializes and tests hardware components during the booting process before handing over control to the operating system. It allows users to configure hardware settings and manage system devices. Modern systems often use UEFI, which provides more features than traditional BIOS, including a graphical interface, faster boot times, and support for larger hard drives.
Why Access BIOS?
You may need to access the BIOS for various reasons, including:
- Changing Boot Order: If you want to boot from a USB drive or an external device, you’ll need to adjust the boot priority.
- Hardware Configuration: Overclocking CPU settings, adjusting fan speeds, or enabling/disabling hardware components.
- Troubleshooting: Diagnosing hardware issues or restoring factory settings.
Steps to Boot to BIOS in Windows 11
There are several methods to access the BIOS in Windows 11. Below are detailed steps for the most common methods.
Method 1: Using Advanced Startup Options
- Open Settings:
- Click on the Start menu and select Settings (the gear icon) or press Windows + I on your keyboard.
- Navigate to Recovery:
- In the Settings window, select System on the left sidebar, then scroll down and click on Recovery.
- Access Advanced Startup:
- Under the Recovery options, locate the Advanced startup section. Click on the Restart now button. Your system will restart and take you to the Windows Recovery Environment (WinRE).
- Choose Troubleshoot:
- In the recovery menu, select Troubleshoot.
- Access UEFI Firmware Settings:
- Click on Advanced options, then select UEFI Firmware Settings. Finally, click on Restart. Your computer will restart and boot directly into the BIOS.
Method 2: Using a Keyboard Shortcut During Boot
This method relies on your computer’s hardware, as not all systems support the same key combinations. Here are some common keys used to enter BIOS:
- F2 or Delete: Most laptops and desktops.
- F10: HP computers.
- F1: Lenovo systems.
- Esc: Some ASUS models.
To use this method:
- Restart Your Computer:
- Click on the Start menu, then select Power and choose Restart.
- Press the BIOS Key:
- As soon as the computer starts up, repeatedly press the BIOS key associated with your computer model (e.g., F2, Del, Esc, etc.). Timing is crucial, so make sure to press it right after you see the manufacturer’s logo.
- Access BIOS Settings:
- If successful, you will be taken to the BIOS setup utility, where you can navigate through various options using your keyboard.
Method 3: Using the Command Prompt
You can also use the Command Prompt to access BIOS:
- Open Command Prompt as Administrator:
- Type cmd in the Start menu, right-click on Command Prompt, and select Run as administrator.
- Run the Shutdown Command:
Type the following command and press Enter:
bash
Copy code
shutdown /r /o /f /t 00
- Follow the On-Screen Prompts:
- This command will restart your computer and take you to the Windows Recovery Environment. From there, follow the steps in Method 1 to access UEFI Firmware Settings.
Tips for Navigating BIOS
- Use Arrow Keys: Navigate through the BIOS menus using the arrow keys on your keyboard. The Enter key is usually used to select options.
- Save Changes: If you make any changes, be sure to save them before exiting. Look for an option that says “Save and Exit” or simply press the appropriate key (often F10).
- Be Cautious: Changing settings in BIOS can affect your system’s stability. If you’re unsure about a setting, consult your computer’s manual or research online.


Writing is definitely an art form which not all people have, but you’re a real writer. You actually appeal to modern readers having exceptional suggestions and also content.
This is the best content I have gone through in a number of years. You’ve really struck on a few solid points in my view. I actually accept you. Don’t quit rolling out terrific material similar to this.
I really like the way you described your own points in this post. I’m in agreement on many points and also am planning on taking stock in others. Many thanks for compiling this kind of fascinating content on this topic.
Your own post reveals you have a passion for article writing and also understanding on the subject. I personally believe you have provided me many reasons to ponder. Thanks so very much.
It is really a privilege to read top quality content material in this specific day and also time. Your own write-up has got the characteristics I have grown to anticipate from true writing.
It is refreshing to go through an extraordinary write-up on a regular basis. You have made several intriguing points and I also agree. This has made me personally think and for that I personally thank you.
It is a really fine write-up with a lot of valuable information. I truly adored this and may return to review a few of your own points.
Article writing cannot be simple for every individual, nonetheless you make it appear like no problem. I value that you worked so very hard in order to make this information intriguing and clear.